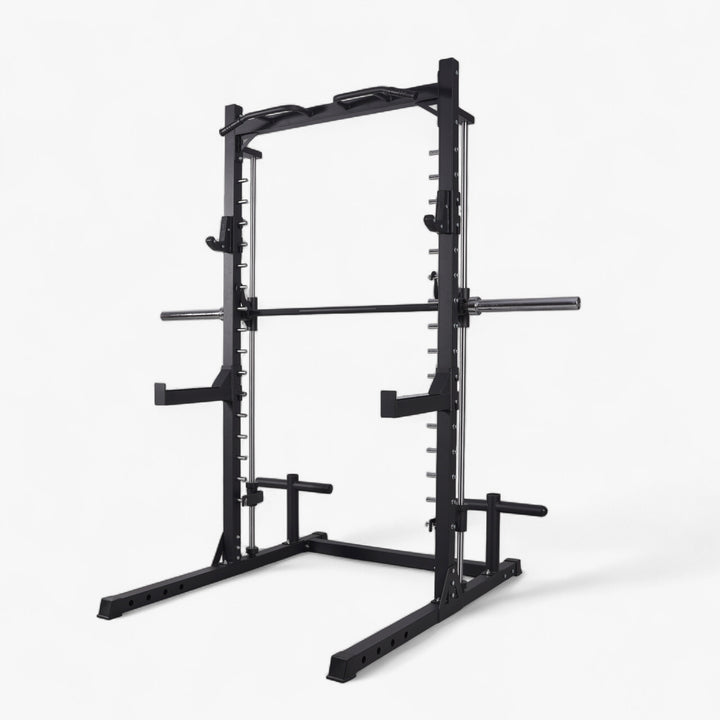
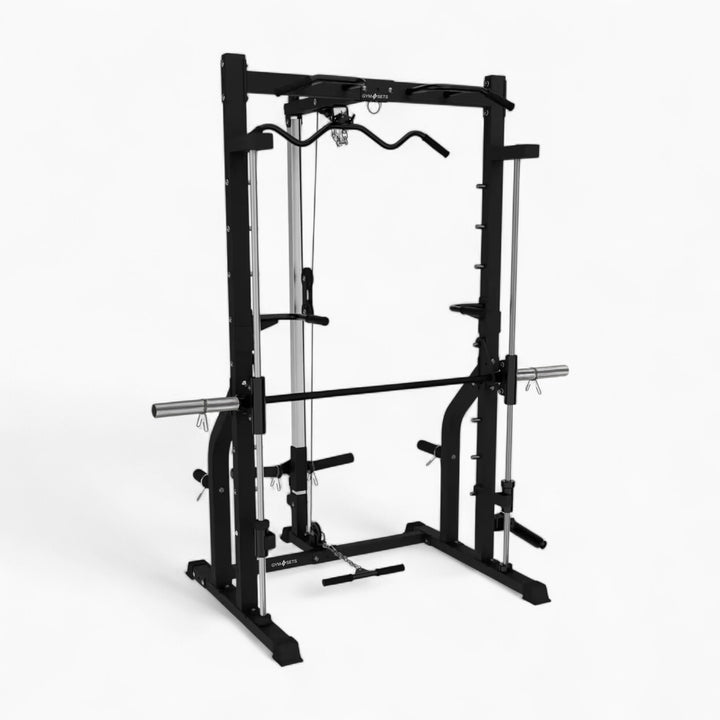





If you have ever stepped foot into a commercial gym, or browsed through home fitness equipment on Shopify, you have almost certainly seen it. It is that massive, imposing steel frame with a barbell trapped inside a vertical track. It looks a bit like a traditional squat rack, but the barbell cannot move forwards or backwards. It only moves up and down.
What is a Smith Machine? At its core, a Smith machine is a piece of weight training equipment featuring a barbell fixed within steel runners, allowing for strictly vertical or near-vertical travel.
For decades, this single piece of kit has sparked fierce debates in the fitness community. Purists who love free weights often claim it ruins your natural movement patterns. On the other side of the gym floor, bodybuilders and rehabilitation specialists praise it as one of the safest, most effective ways to isolate muscles and build sheer size.
Whether you are looking to buy a piece of strength kit for your home gym setup or trying to figure out how to use the equipment at your local health club, understanding this machine is vital. In this comprehensive guide, we will break down exactly how it works, the surprising history behind it, its unique benefits, and how you can use it to transform your workouts.
The Origins of the Fixed-Track Barbell
To truly understand what a Smith machine is, we have to look back at how it came to be. Interestingly, it was not invented by anyone named Smith.
The original concept was developed in the 1950s by a legendary fitness icon named Jack LaLanne. LaLanne was a pioneer of modern physical culture, and he designed a sliding barbell apparatus in his own gym to help people lift heavy weights without needing a human spotter.
A man named Rudy Smith saw the massive potential in LaLanne's crude design. Smith was a gym executive who managed the famous Vic Tanny gyms. He took LaLanne’s prototype, refined the engineering, added a crucial hook-and-peg safety system, and began manufacturing the commercial model we know today. By the time the late 1950s rolled around, the "Smith Machine" had become a staple of commercial gyms across America, and eventually, the entire world.
Anatomy of a Smith Machine: How It Works
Before you load any heavy weight plates onto the bar, you need to understand the structural components that make up this unique system. While different fitness brands offer various bells and whistles, the core anatomy remains remarkably consistent.
1. The Fixed Guide Rods
These are the vertical steel pillars that dictate where the barbell can travel. On older or basic models, these rods are completely vertical, running straight up and down at a 90-degree angle to the floor. On many premium modern commercial machines, these tracks are set at a slight angle, usually between 5 to 7 degrees. This slight incline is designed to more closely mimic the natural, subtle arc of a human barbell trajectory during movements like the bench press or the back squat.
2. The Integrated Barbell
Unlike a standard Olympic barbell, which weighs exactly 20kg and rests loosely on J-hooks, the barbell on this machine is permanently attached to the guide rods via smooth-sliding linear bearings or rollers.
Because the bar is attached to a complex tracking system, the starting weight can vary wildly. Some residential counterbalanced machines have a starting bar weight of almost zero, while heavy-duty commercial rigs might have a starting bar weight anywhere between 11kg and 25kg. Always check the manufacturer sticker on the side of the frame before calculating your total lifting weight.
3. The Hook and Peg Safety System
This is the feature that makes the machine famous for solo trainers. Along the length of the steel guide rods, you will find a series of metal pegs or cut-out slots spaced just a few inches apart. The barbell itself has welded hooks attached to it. By simply rotating your wrists forwards or backwards, you can engage these hooks into the nearest slot, instantly locking the heavy barbell in place at any point during your exercise.
4. Adjustable Safety Stops
Located at the bottom of the guide rods are two heavy-duty steel collars equipped with spring plungers. You can manually slide these safety stops up or down and lock them into place before you begin your set. If you are doing a heavy bench press or squat, you position these stops just below your lowest desired depth. If your muscles give out mid-rep, the bar will drop safely onto these stoppers rather than crushing your chest or pinning you to the floor.
Smith Machine vs. Free Weights: The Big Differences
To understand why this machine divides opinion so sharply, we need to contrast it directly with traditional free weights like dumbbells and standard Olympic barbells. The differences come down to physics, biomechanics, and muscle recruitment.
-
The Plane of Motion: Free weights operate in three-dimensional space. When you squat with a traditional barbell, your body has to work constantly to keep the bar from drifting too far forward towards your toes or backward towards your heels. The fixed bar eliminates this completely. It locks you into a strict two-dimensional track, removing the horizontal plane of movement entirely.
-
Stabiliser Muscle Recruitment: Because the steel track keeps the barbell perfectly balanced, your body does not need to recruit its smaller stabilising muscles to keep the weight steady. During a free-weight bench press, the rotator cuff muscles in your shoulders and the serratus anterior along your ribs are working overtime just to balance the metal rod. On the machine, those stabilisers can relax, leaving your primary movers, like your pectorals, to do 100% of the hard labor.
-
The Balance Variable: Balancing a heavy weight requires neurological control and core stability. For a beginner, balancing an Olympic bar can feel like walking a tightrope. The guided track acts like training wheels on a bicycle, entirely removing the fear of tipping over or dropping the weight sideways.
The Benefits: Why You Should Use One
Despite what fitness purists might tell you on social media, this piece of equipment offers massive, scientifically backed advantages for lifters of all experience levels.
Maximum Safety When Training Alone
The number one reason people use this equipment is safety. If you enjoy pushing your limits on heavy compound movements like the bench press, shoulder press, or squat, you typically need a human spotter standing over you to catch the weight if you experience muscle failure. With the safety stop mechanisms and the quick-turn wrist hooks, you can train to absolute failure with total confidence, knowing you can abort the lift safely in a fraction of a second.
Unmatched Muscle Isolation for Bodybuilding
If your primary fitness goal is hypertrophy (building bigger muscle mass), isolation is your best friend. Because your body does not have to expend energy stabilizing the load, you can funnel all your raw effort directly into the targeted muscle group. For example, if you perform a Bulgarian split squat inside the fixed rails, your balance is taken care of. This allows you to position your feet in a way that places maximum stress on your glutes or quadriceps without wobbling around.
An Excellent Tool for Rehabilitation and Beginners
If you are recovering from an injury, or if you are completely new to strength training, the machine provides a highly controlled, predictable environment. Physical therapists frequently use it because it allows patients to practice fundamental movement patterns, like bending at the hips or pressing overhead, with zero risk of the weight slipping out of control and causing further joint damage.
Easy Layout Alterations
Because you do not have to worry about dropping the bar, you can effortlessly change your foot positioning or hand placement during a workout to target different areas of a muscle. You can place your feet far out in front of you during a squat to place intense emphasis on your glutes, a biomechanical variation that is completely impossible with a traditional free barbell without falling flat on your back.
The Drawbacks: What to Watch Out For
To maintain complete transparency in your fitness journey, you must also recognize the limitations of training within a locked track.
-
Unnatural Mechanical Paths: No human body moves in a perfectly straight line. When we push or pull weights, our joints naturally rotate and glide through subtle curves. Forcing your body to adapt to a perfectly rigid, straight steel track can sometimes place unwanted shear stress on complex joints like your knees, lower back, and rotator cuffs, especially if your body alignment is slightly off.
-
Reduced Functional Core Strength: Because the machine does the stabilizing work for you, your core, obliques, and deep spinal stabilizers do not get challenged anywhere near as much as they would during a free-weight lift. If you only train inside a machine track, you might develop impressive muscle size, but you won't build the functional, real-world stabilization strength required for everyday lifting, carrying, or sports performance.
-
The Illusion of Strength: It is incredibly common for people to discover they can lift 20% to 30% more weight inside the machine rails than they can with a free barbell. While this feels amazing for the ego, it can create a false sense of security. If you attempt to transfer that same heavy weight over to a free-weight rack without building up your stabilizer strength first, you run a very high risk of immediate injury.
The Best Exercises to Perform
To get the absolute most out of this machine, you want to choose exercises where the fixed plane of motion acts as an advantage rather than a structural hindrance. Here are the top movements that excel inside the guided tracks.
The Incline Bench Press
The incline press is notorious for being difficult to stabilize with standard barbells, as the weight naturally wants to drift backward toward your face. Performing this lift inside the machine tracks allows you to line the seat up perfectly so the bar lands precisely across your upper chest on every single rep. You can focus entirely on driving through your upper pectorals and anterior deltoids without worrying about your shoulder joints shaking under the heavy load.
Bulgarian Split Squats
The Bulgarian split squat is an incredibly effective unilateral (one-legged) lower body exercise, but most people give up on it because balancing on one foot while holding heavy dumbbells is deeply frustrating. By placing your back foot on a bench and holding the guided machine bar across your upper back, your balance becomes completely locked in. You can now deeply stimulate your quads and glutes, driving the working leg to complete exhaustion.
Romanian Deadlifts (RDLs)
The Romanian deadlift is a superb movement for developing the hamstrings and glutes. When performed with free weights, it is easy for the bar to drift away from your shins, which places severe, dangerous leverage directly onto your lower back. The vertical tracks keep the barbell tucked close to your body throughout the entire descent, allowing you to push your hips far back and achieve a massive, safe stretch in the hamstrings.
Shrugs and Calf Raises
For smaller isolation movements that require vertical tracking, this machine is unmatched. When doing standing calf raises or trapezius shrugs, you do not want to worry about forward or backward sway. You simply want to move the weight straight up and straight down. The smooth linear bearings ensure that all the tension stays loaded on the target muscle from the bottom of the movement to the absolute top peak contraction.
Crucial Tips for Proper Form and Setup
If you want to maximize your muscle building while keeping your joints completely safe, you need to follow a few non-negotiable rules of setup.
-
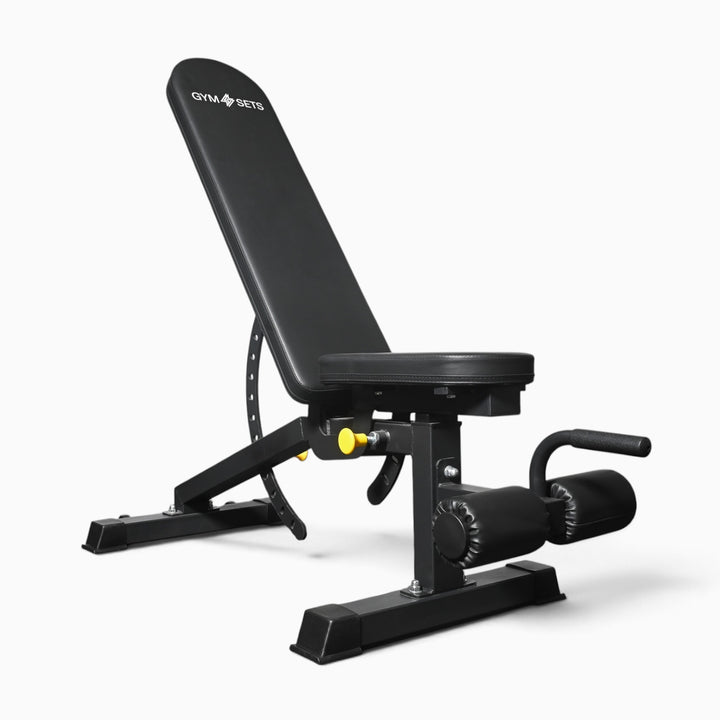
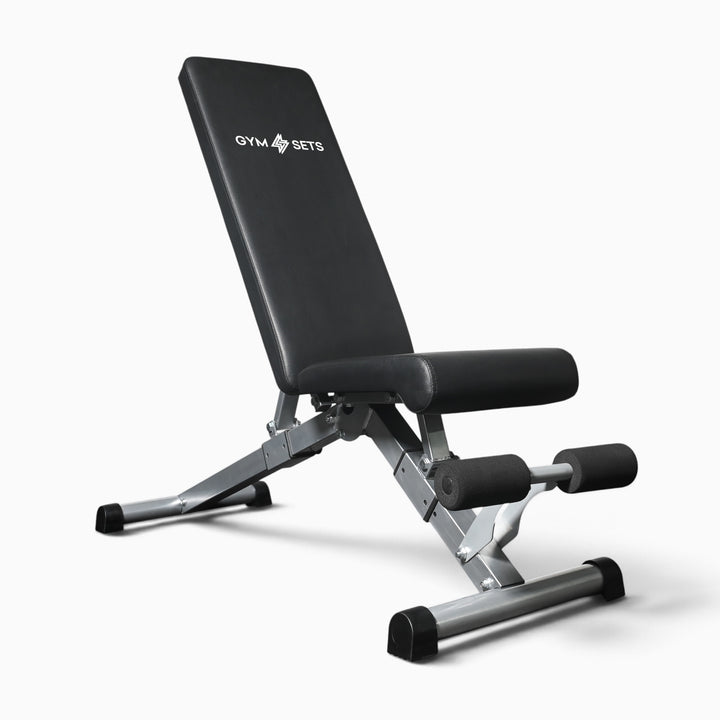
Perfect Bench Alignment: If you are using an adjustable weight bench for presses, ensure the bench is dead-center within the machine frame. Even a slight millimeter misalignment to the left or right will cause one side of your body to work harder than the other, leading to muscle imbalances and shoulder strain over time.
-
Mind Your Hook Direction: Before you load heavy weights, practice unhooking and re-hooking the empty bar. Pay close attention to which way your wrists need to rotate to clear the safety pegs. You must set up your body so that your natural pressing movement keeps the hooks disengaged, requiring an intentional flick of the wrist to lock it back in when you finish your set.
-
Establish Your Foot Placement Early: Because the bar path is unyielding, your feet must adapt to the machine, not the other way around. For squats, you will generally need to step your feet slightly further forward than you would during a free-weight squat. This adjustment allows your hips to travel backward comfortably without your knees migrating too far past your toes.
Common Myths Exploded
Let us clear up some of the most pervasive myths floating around fitness blogs and forums regarding this piece of gym kit.
Myth 1: "Smith Machines will completely ruin your knees"
This is a massive exaggeration. The machine itself will not ruin your joints; poor setup and improper foot placement will. If you place your heels directly underneath the bar and try to squat like you would with a free weight, you will create high shearing forces across your patella tendons. However, if you utilize the machine’s design by stepping your feet forward, you can actually reduce knee stress while increasing glute activation.
Myth 2: "Lifting on a Smith Machine doesn't count as real lifting"
Tension is tension. Your muscle fibers do not possess eyes; they cannot see whether a barbell is attached to steel guide rods or floating freely in the air. They only respond to mechanical tension, metabolic stress, and muscular damage. If you are lifting to a high level of intensity near muscle failure, your body will adapt by growing bigger and stronger, regardless of the tracking system.
Is a Smith Machine Right for Your Training Goals?
At the end of the day, this equipment is simply a tool in your fitness arsenal. It is neither inherently good nor inherently bad.
If your primary training goal is to build raw, functional, athletic power for sports like rugby, football, or competitive weightlifting, you should spend the vast majority of your training time working with free weights, dumbbells, and cable systems. You need those stabilizers and that real-world balance coordination.
However, if your main focus is stepping up your bodybuilding progress, safely isolating specific muscle groups, crushing solo home workouts without a partner, or gently working around an old nagging injury, adding a Smith machine to your routine is an incredibly smart, highly efficient move.
When shopping for home gym equipment or structuring your weekly gym routine, look for ways to combine the best of both worlds. Use free weights early in your workout when your central nervous system is fresh and energized to build core stability. Then, transition over to the guided tracks during the second half of your session, when your stabilizers are exhausted, to safely push your target muscles to the absolute limit.


