




Setting up a home gym is a rite of passage for any fitness enthusiast. There is something uniquely satisfying about rolling out of bed and hitting a PB without having to navigate a rainy commute or a crowded locker room. However, that sense of pride can vanish the moment you hear the dreaded thud of a dumbbell hitting bare floorboards. Whether you are dealing with sleek laminate, traditional hardwood, or even a concrete garage floor, weightlifting is inherently violent toward your home’s surfaces.
If you don't take precautions, you aren't just building muscle; you are building a very expensive repair bill. Protecting your floor while lifting at home requires a mix of the right materials, smart equipment choices, and a bit of common sense regarding your lifting style. In this guide, we will explore the best ways to keep your floors pristine while you get your gains.
Why Floor Protection is Non-Negotiable
You might think that your vinyl flooring is "tough enough" for a few kettlebells, but physics has a different opinion. When you drop a weight, the force exerted isn't just the weight of the plate; it is the mass multiplied by acceleration. Even a "controlled" set of deadlifts can create micro-cracks in a concrete subfloor or cause floorboards to splinter over time.
Beyond the structural damage, there is the noise factor. If you live in a flat or have family members in the next room, the vibrations from a barbell hitting the ground travel through the joists like a drum. Quality flooring protection acts as a shock absorber, dampening the sound and diffusing the energy of the impact. It’s an investment in your home’s value and your relationship with your neighbours.
Assessing Your Current Flooring Type
Before you buy mats, you need to know what you are protecting. Different floors react differently to pressure and impact.
-
Hardwood: The most vulnerable. It scratches easily and can dent under heavy static loads (like a power rack).
-
Laminate/Vinyl: Highly prone to "buckling" or "lipping" if heavy weights cause the planks to shift.
-
Carpet: It offers some cushion but is terrible for stability. Heavy weights can permanently crush the pile.
-
Concrete: While it seems indestructible, repetitive high-impact dropping (like Olympic lifting) will eventually cause it to crack or "spall."
Identifying your base layer helps you decide how much "buffer" you need. For example, hardwood requires a non-staining underlayment beneath your rubber mats to prevent chemical reactions that can ruin the finish.
The Gold Standard: Rubber Gym Flooring
When asking how to protect my floor while lifting at home, the most common and effective answer is high-density rubber. Rubber is the industry standard for a reason: it is durable, provides excellent grip, and absorbs impact better than almost any other material.
You generally have three choices when it comes to rubber:
1. Interlocking EVA Foam vs. Solid Rubber
Many beginners gravitate toward cheap foam "puzzle mats." While these are fine for yoga or bodyweight exercises, they are useless for heavy lifting. They compress too easily, meaning your floor still takes the hit, and they provide a "squishy" surface that is dangerous for your ankles during squats. Always opt for solid crumb rubber or vulcanised rubber mats at least 10mm–20mm thick.
| Feature | EVA Foam Mats | Solid Rubber Mats |
| Durability | Low (tears easily) | High (lasts years) |
| Impact Absorption | Minimal | Excellent |
| Stability | Poor (spongy) | Firm and Secure |
| Best Use | Yoga/Pilates | Powerlifting/Dumbbells |
The Magic of Horse Stall Mats
If you want the best "bang for your buck," look toward the agricultural sector. Horse stall mats are 19mm thick slabs of dense rubber designed to support 500kg animals. They are significantly cheaper than "specialist" gym flooring but offer the same (if not better) protection.
The downside? They are incredibly heavy and often have a strong "rubbery" scent for the first few weeks. If you use these indoors, you’ll want to scrub them with a mixture of dish soap and water and leave the windows open. However, for a garage gym or a dedicated lifting room, they are virtually indestructible. They provide a flat, non-slip surface that can handle even the heaviest deadlifts without breaking a sweat.
Building a DIY Lifting Platform
If you are a serious powerlifter or enjoy Olympic movements like the clean and jerk, mats alone might not be enough. You need a dedicated lifting platform. This is a layered structure, typically 8ft x 8ft, that creates a "sandwich" of protection.
How to build a basic platform:
-
Bottom Layer: Two sheets of 18mm plywood laid side-by-side.
-
Middle Layer: Another two sheets of plywood laid perpendicular to the first layer to create a rigid base.
-
Top Layer (Centre): A high-quality sheet of smooth oak or birch plywood for your standing area.
-
Top Layer (Sides): Rubber matting (like the horse stall mats mentioned earlier) where the plates will actually land.
This setup ensures that the force of the drop is distributed across the entire 64-square-foot area, rather than concentrated on two small points on your floor.
Dealing with Carpeted Rooms
Lifting on carpet is a unique challenge. While the carpet provides some padding, it lacks the lateral stability needed for heavy lifting. If you put rubber mats directly onto a thick carpet, they will "walk" or shift as you move, which can lead to trips or falls.
The best solution for carpet is to place a layer of Plywood (12mm-18mm) down first. This creates a hard, flat sub-surface. You then place your rubber mats on top of the plywood. This "hard-deck" approach prevents the carpet from being crushed and ensures your lifting surface stays level. If you are worried about the plywood sliding, you can use a non-slip rug pad between the carpet and the wood.
Managing Static Loads: Racks and Benches
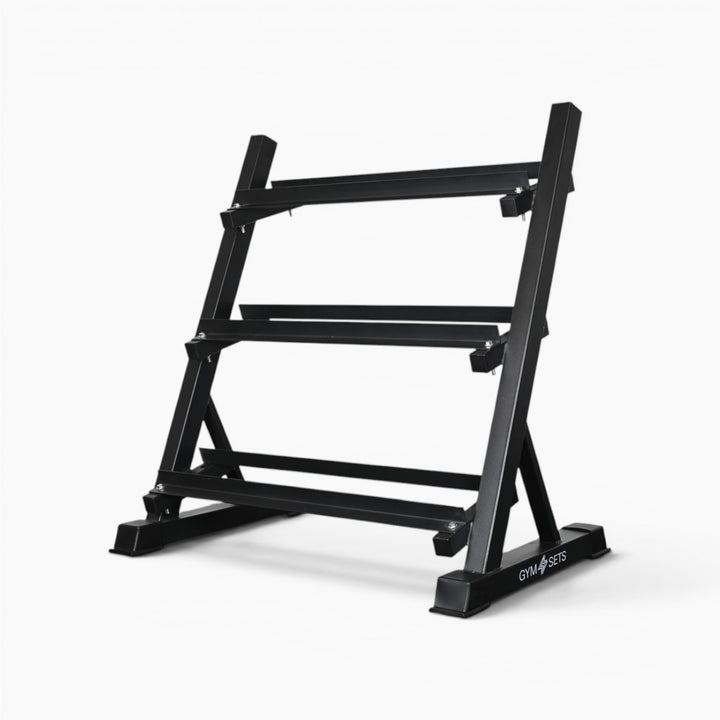
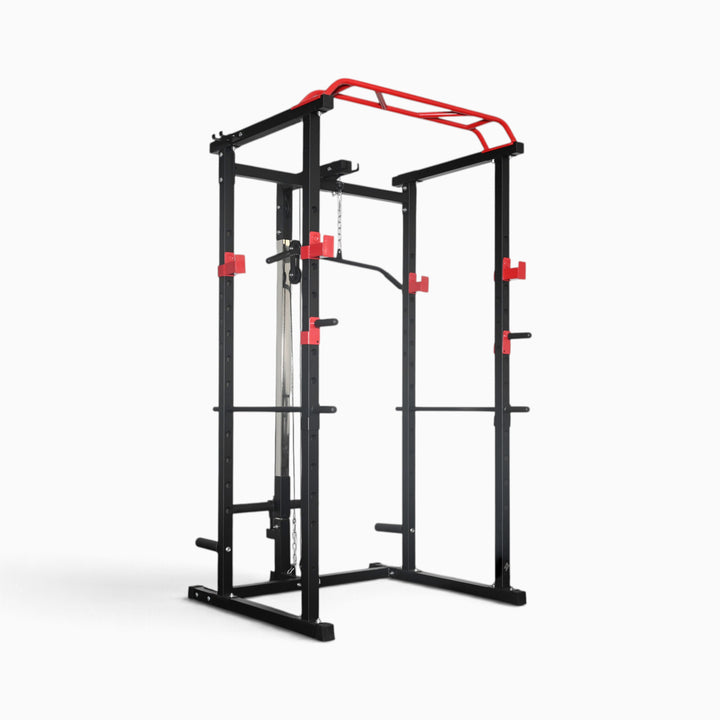
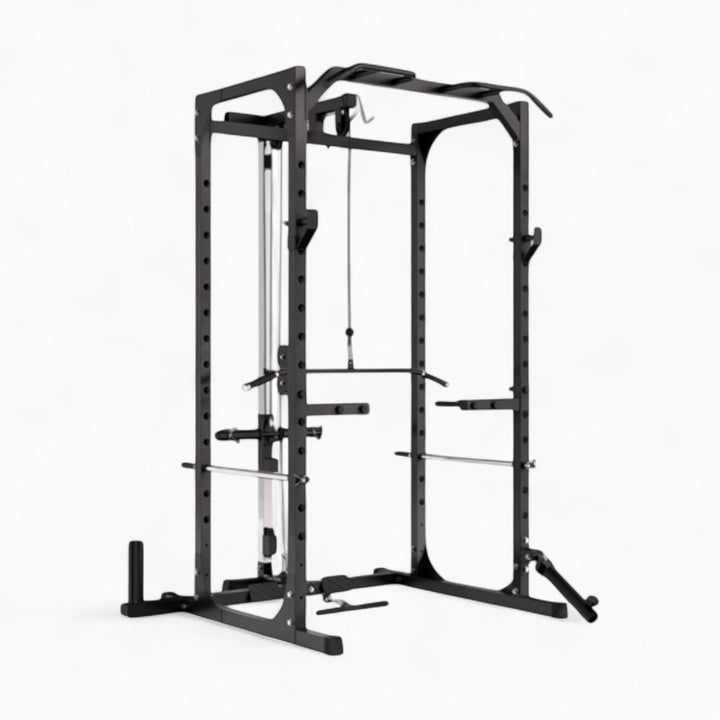
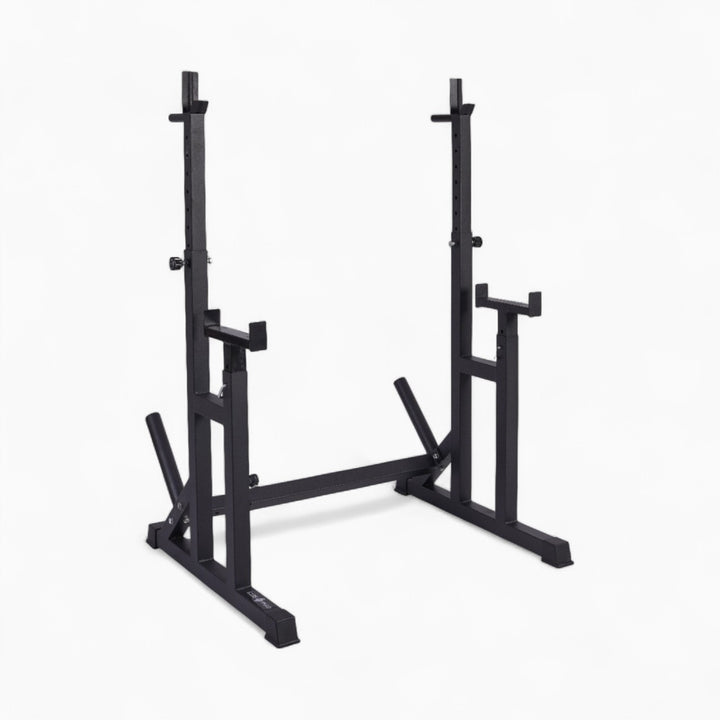
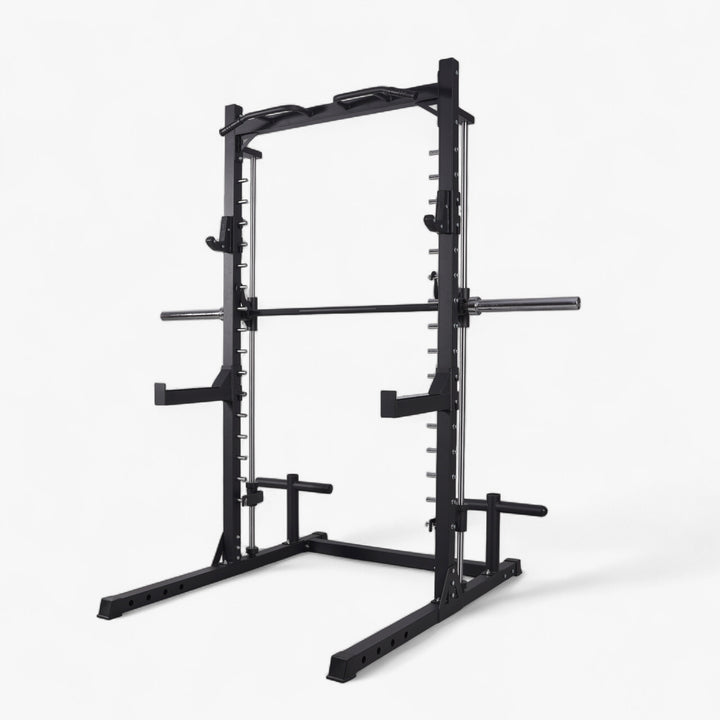
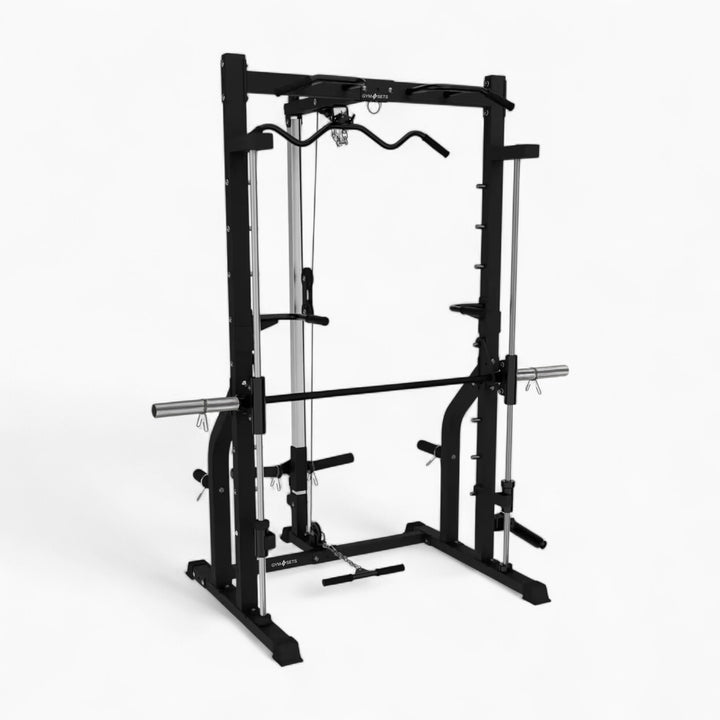
It isn't just the dropping of weights that causes damage; it’s the constant pressure. A power rack loaded with a 150kg barbell exerts a massive amount of "point load" pressure through its four small feet. Over time, this can cause permanent indentations in laminate or hardwood.
To prevent this, ensure your rack sits on a "spreader" layer. A 10mm rubber mat is usually sufficient to distribute this weight. If you have particularly delicate floors, consider using furniture cups or additional small squares of rubber under the bolt-down points of your rack. This prevents the metal frame from biting into your flooring and keeps everything stable during vigorous movements like pull-ups or dips.
Equipment Choice Matters
Sometimes, the best way to protect your floor is to change what you are hitting it with. If you are using old-school cast iron plates, the risk of floor damage is significantly higher. Iron is unforgiving; if it hits a floor, something is going to break, and it won't be the iron.
Consider Bumper Plates
Bumper plates are made of high-density rubber and are designed to be dropped. They have a uniform diameter, which means the force of impact is spread across a larger surface area of the plate compared to small, thin iron discs. Even if you aren't doing Olympic lifts, using bumpers for your deadlifts provides an extra layer of "insurance" for your subfloor. They are quieter, safer, and much kinder to your home environment.
Keeping it Clean and Safe
Believe it or not, dirt is an enemy of floor protection. If grit or small stones get trapped underneath your rubber mats, they act like sandpaper against your floorboards every time you step on the mat.
Maintenance Checklist:
-
Vacuum Before Installation: Ensure the subfloor is spotless before laying mats.
-
Taping Seams: Use heavy-duty floor tape (or "Gorilla Tape") on the joins of your mats. This prevents sweat and dust from seeping through to the floor below.
-
Moisture Check: If your gym is in a cellar or garage, check for dampness. Trapping moisture under rubber mats can lead to mould or "sweating" which rots wooden subfloors.
-
Regular Wipedowns: Sweat is corrosive. Wipe your mats down weekly with a mild disinfectant to keep the rubber from degrading and to stop the room from smelling like a locker room.
Aesthetic Considerations
Let’s be honest: not everyone wants their spare bedroom to look like a gritty warehouse. If your home gym is in a multi-purpose room, you might want something more "designer."
There are now high-end rubber tiles available in various colours and textures (like faux-stone or cork-fleck) that look much more professional than standard black mats. These often come with bevelled edging strips that prevent tripping hazards and give the space a "finished" look. While they cost more, they bridge the gap between a high-performance gym and a livable home space. Just ensure they are still at least 8mm thick for genuine protection; anything thinner is purely cosmetic.
Summary of Floor Protection Options
To help you decide, here is a quick breakdown of the most effective methods based on your lifting style:
| Lifting Style | Recommended Protection | Minimum Thickness |
| Yoga & Light DBs | EVA Foam Puzzle Mats | 10mm |
| General Strength | High-Density Rubber Tiles | 10mm - 12mm |
| Heavy Powerlifting | Horse Stall Mats or Plywood Base | 18mm - 20mm |
| Olympic Weightlifting | DIY Three-Layer Platform | 40mm - 50mm (Total) |
Final Thoughts: Prevention is Cheaper than Repair
Ultimately, the question of how to protect my floor while lifting at home comes down to respecting the equipment and the space. You wouldn't park a car on a glass table, so don't drop a 100kg barbell on a hardwood floor.
Investing £100–£300 in quality rubber matting or a plywood base might seem like a lot when you've already spent a fortune on a squat rack and weights. However, compared to the cost of sanding and refinishing a hardwood floor—or worse, replacing cracked floor tiles—it is the smartest financial move you can make for your home gym. Take the time to prep your floor correctly, and you can focus on your training without the nagging fear of hearing that expensive crack. Happy lifting!


